Real-time scanning keeps your infrastructure protected against emerging threats by instantly scanning your assets when new Nuclei templates added to ProjectDiscovery. These threats may range from zero-days and 1-day exploits to newly disclosed CVEs being actively exploited in the wild. Security researchers and engineers worldwide contribute Nuclei templates as soon as new vulnerabilities trend on the internet, often within hours of disclosure. When these templates are merged into our repository, your assets are automatically scanned without waiting for scheduled runs. This rapid response is crucial for protecting against active exploitation campaigns, especially during the critical window between vulnerability disclosure and patch availability. Think of it as a security-focused CI pipeline – continuously monitoring, automatically triggering, and instantly protecting your infrastructure against emerging threats.Documentation Index
Fetch the complete documentation index at: https://projectdiscovery.sec-lab.cn/llms.txt
Use this file to discover all available pages before exploring further.
Setup and Configuration Options
Setting Up Real-Time Scans
 All Enterprise accounts are automatically enrolled in Real-time Autoscan. To check if Real-time Autoscan is enabled for your account:
- Visit the ProjectDiscovery Cloud Dashboard
- Navigate to the Real-Time Scanning section directly from the dashboard home
- Check if “Real-time Autoscan” is toggled on
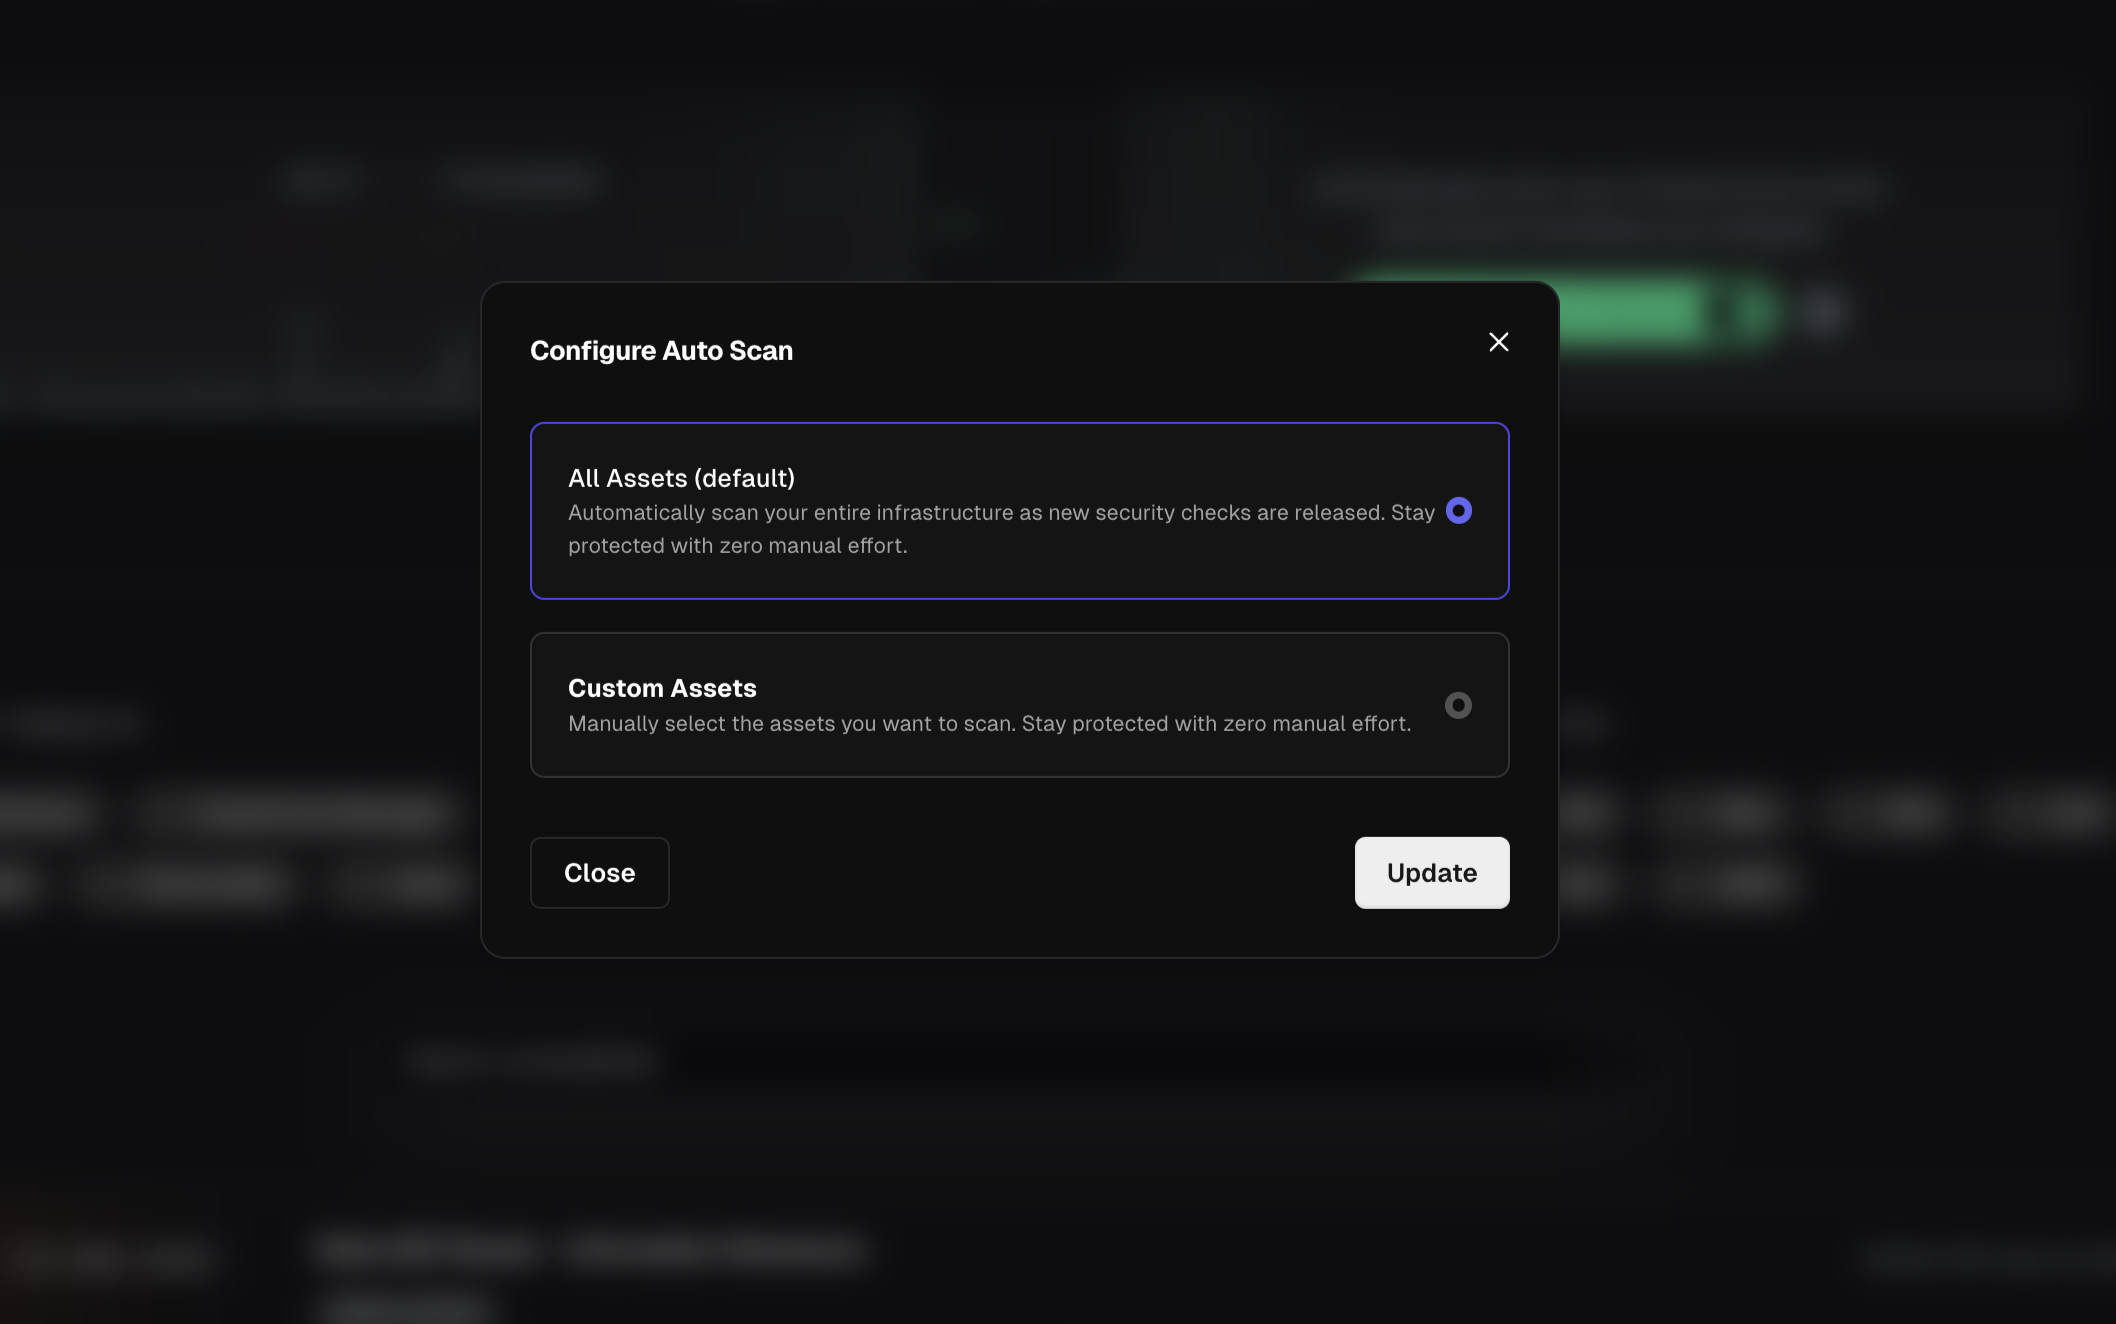
Custom Asset Selection
- Visit the ProjectDiscovery Cloud Dashboard
- Navigate to the Real-Time Scanning section directly from the dashboard home
- Click on the gear icon next to the toggle
- Select Custom Assets
- Select the asset groups you wish to include in Real-time Autoscan
- Click on Update
Reviewing Scan Results
 Real-time Autoscan results are grouped as a separate scan titled “Early Templates Autoscan” under the Scans tab. This scan updates automatically whenever a new Nuclei template is merged, scanning your assets with the latest template.
Detected vulnerabilities will appear as open results within the scan. These results will remain open even if the scan is later updated with a newly merged Nuclei template.
To view the most recent template used in the scan:
Real-time Autoscan results are grouped as a separate scan titled “Early Templates Autoscan” under the Scans tab. This scan updates automatically whenever a new Nuclei template is merged, scanning your assets with the latest template.
Detected vulnerabilities will appear as open results within the scan. These results will remain open even if the scan is later updated with a newly merged Nuclei template.
To view the most recent template used in the scan:
- Click the three dots menu to the right of the scan.
- Select Update
- Click on the tab Set templates.
- Expand the folder labeled “Early Templates”.
Alerting
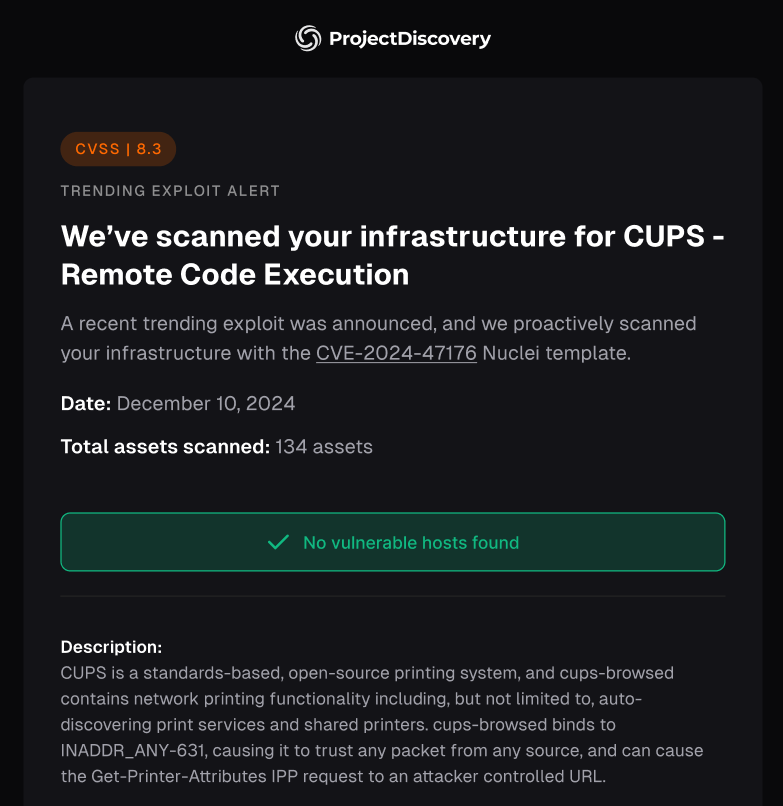 By default, only newly detected vulnerabilities will generate email or message alert. However, on occasion, we may merge a trending exploit that warrants a notification even if no vulnerable hosts are detected. This message can be shared internally to proactively communicate a strong security posture with relevant stakeholders and leadership personnel.
Real-time scanning is a feature available with our Enterprise plan.